Boat Updates – Bow mount Fixing
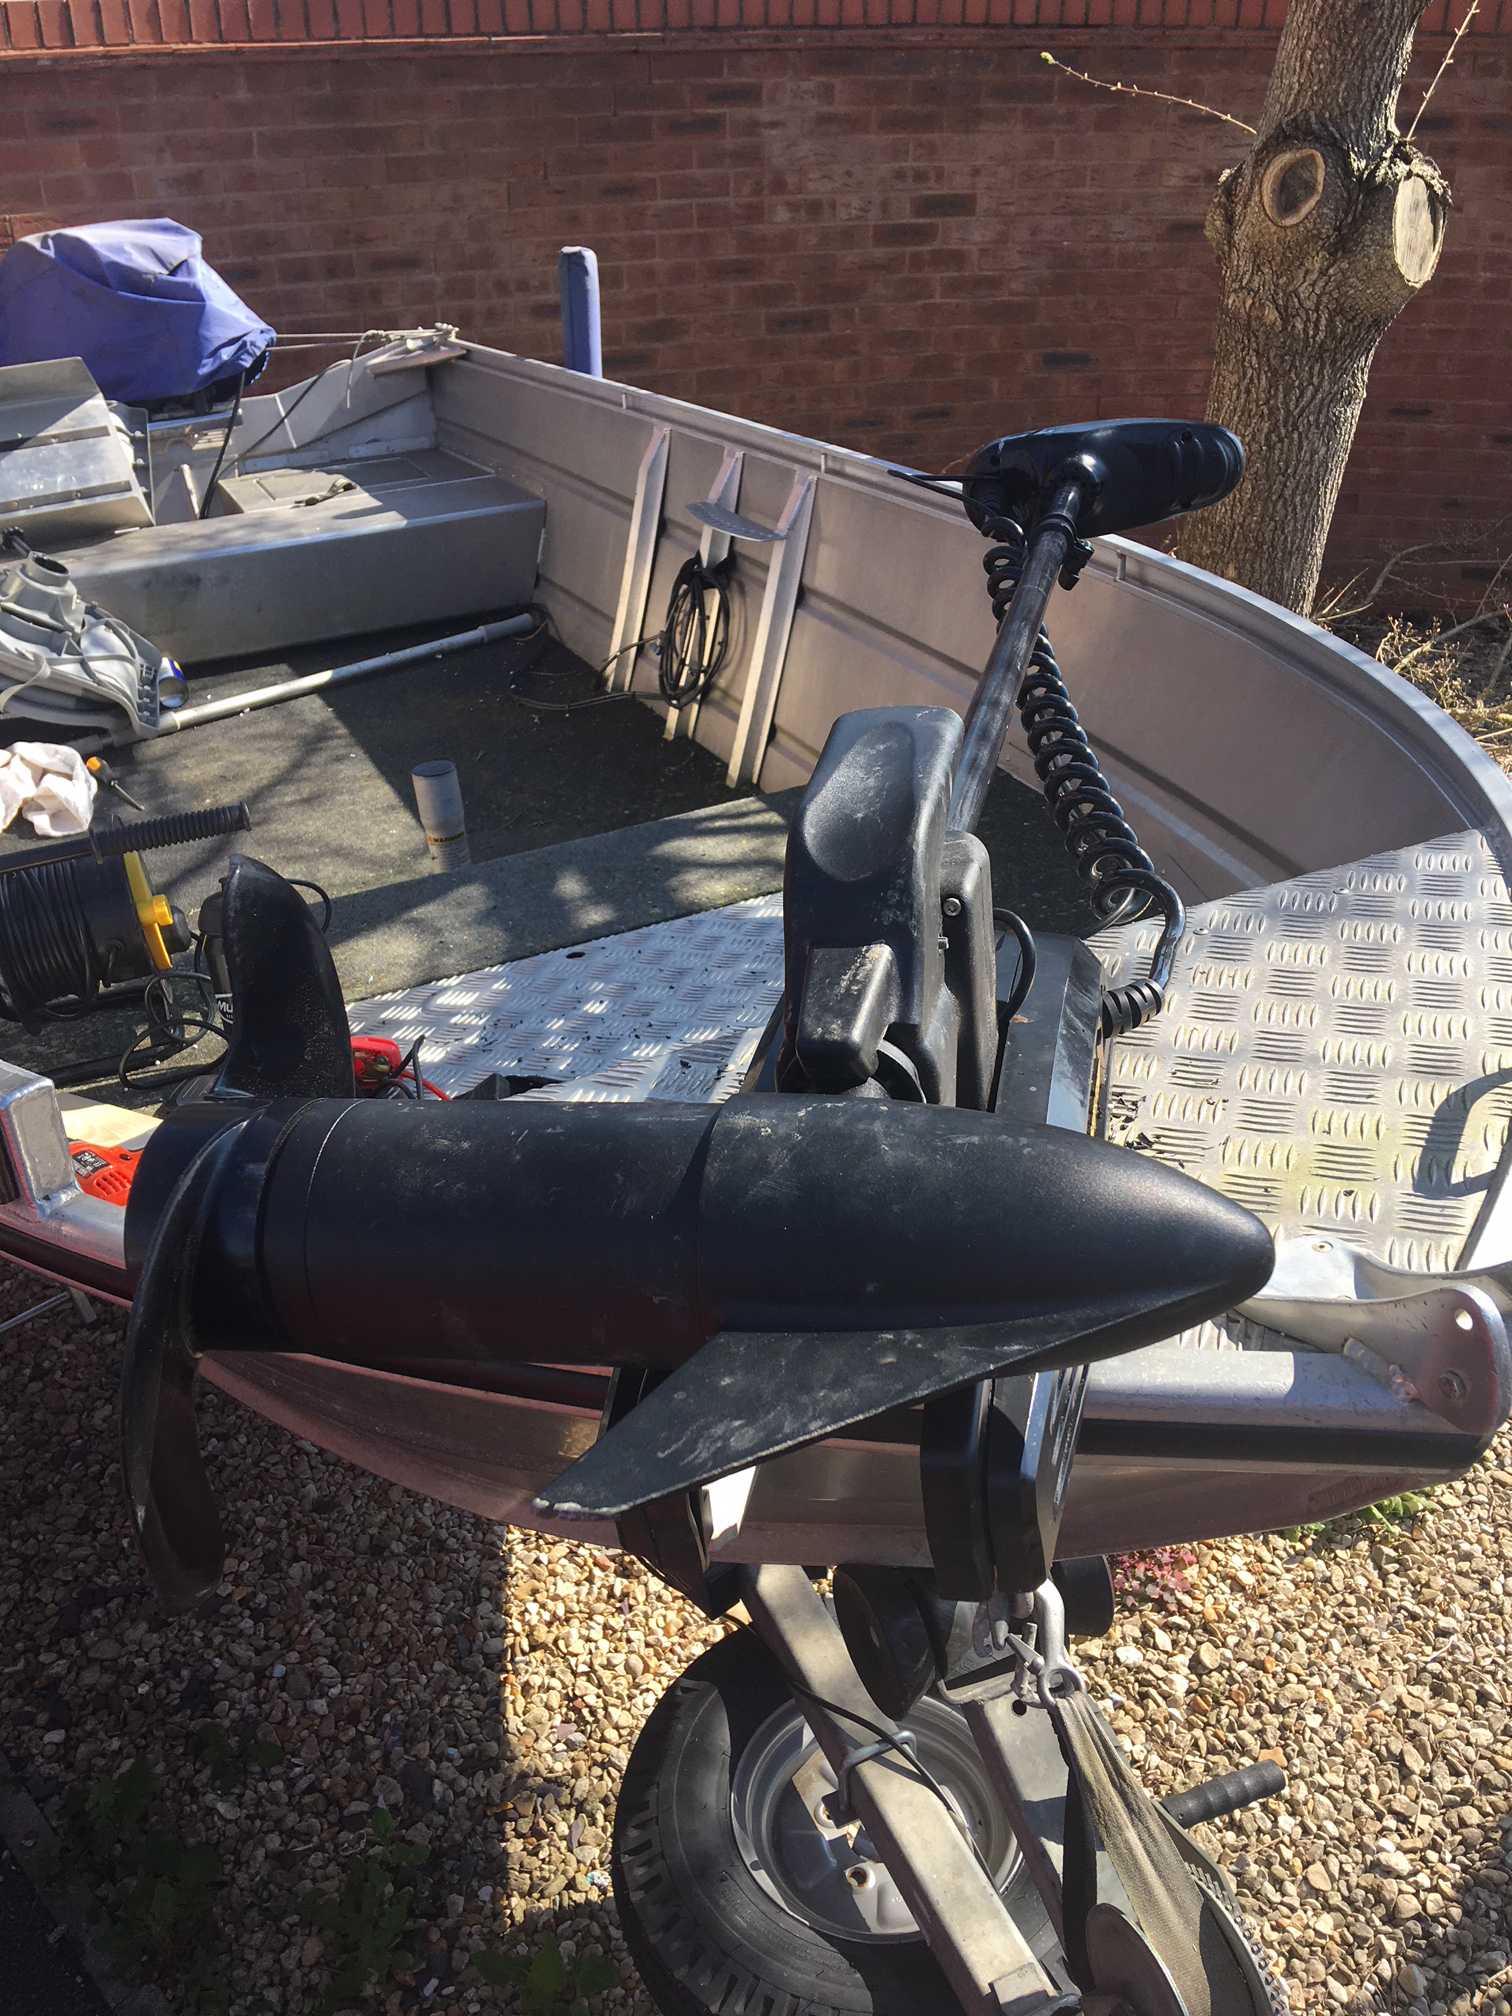
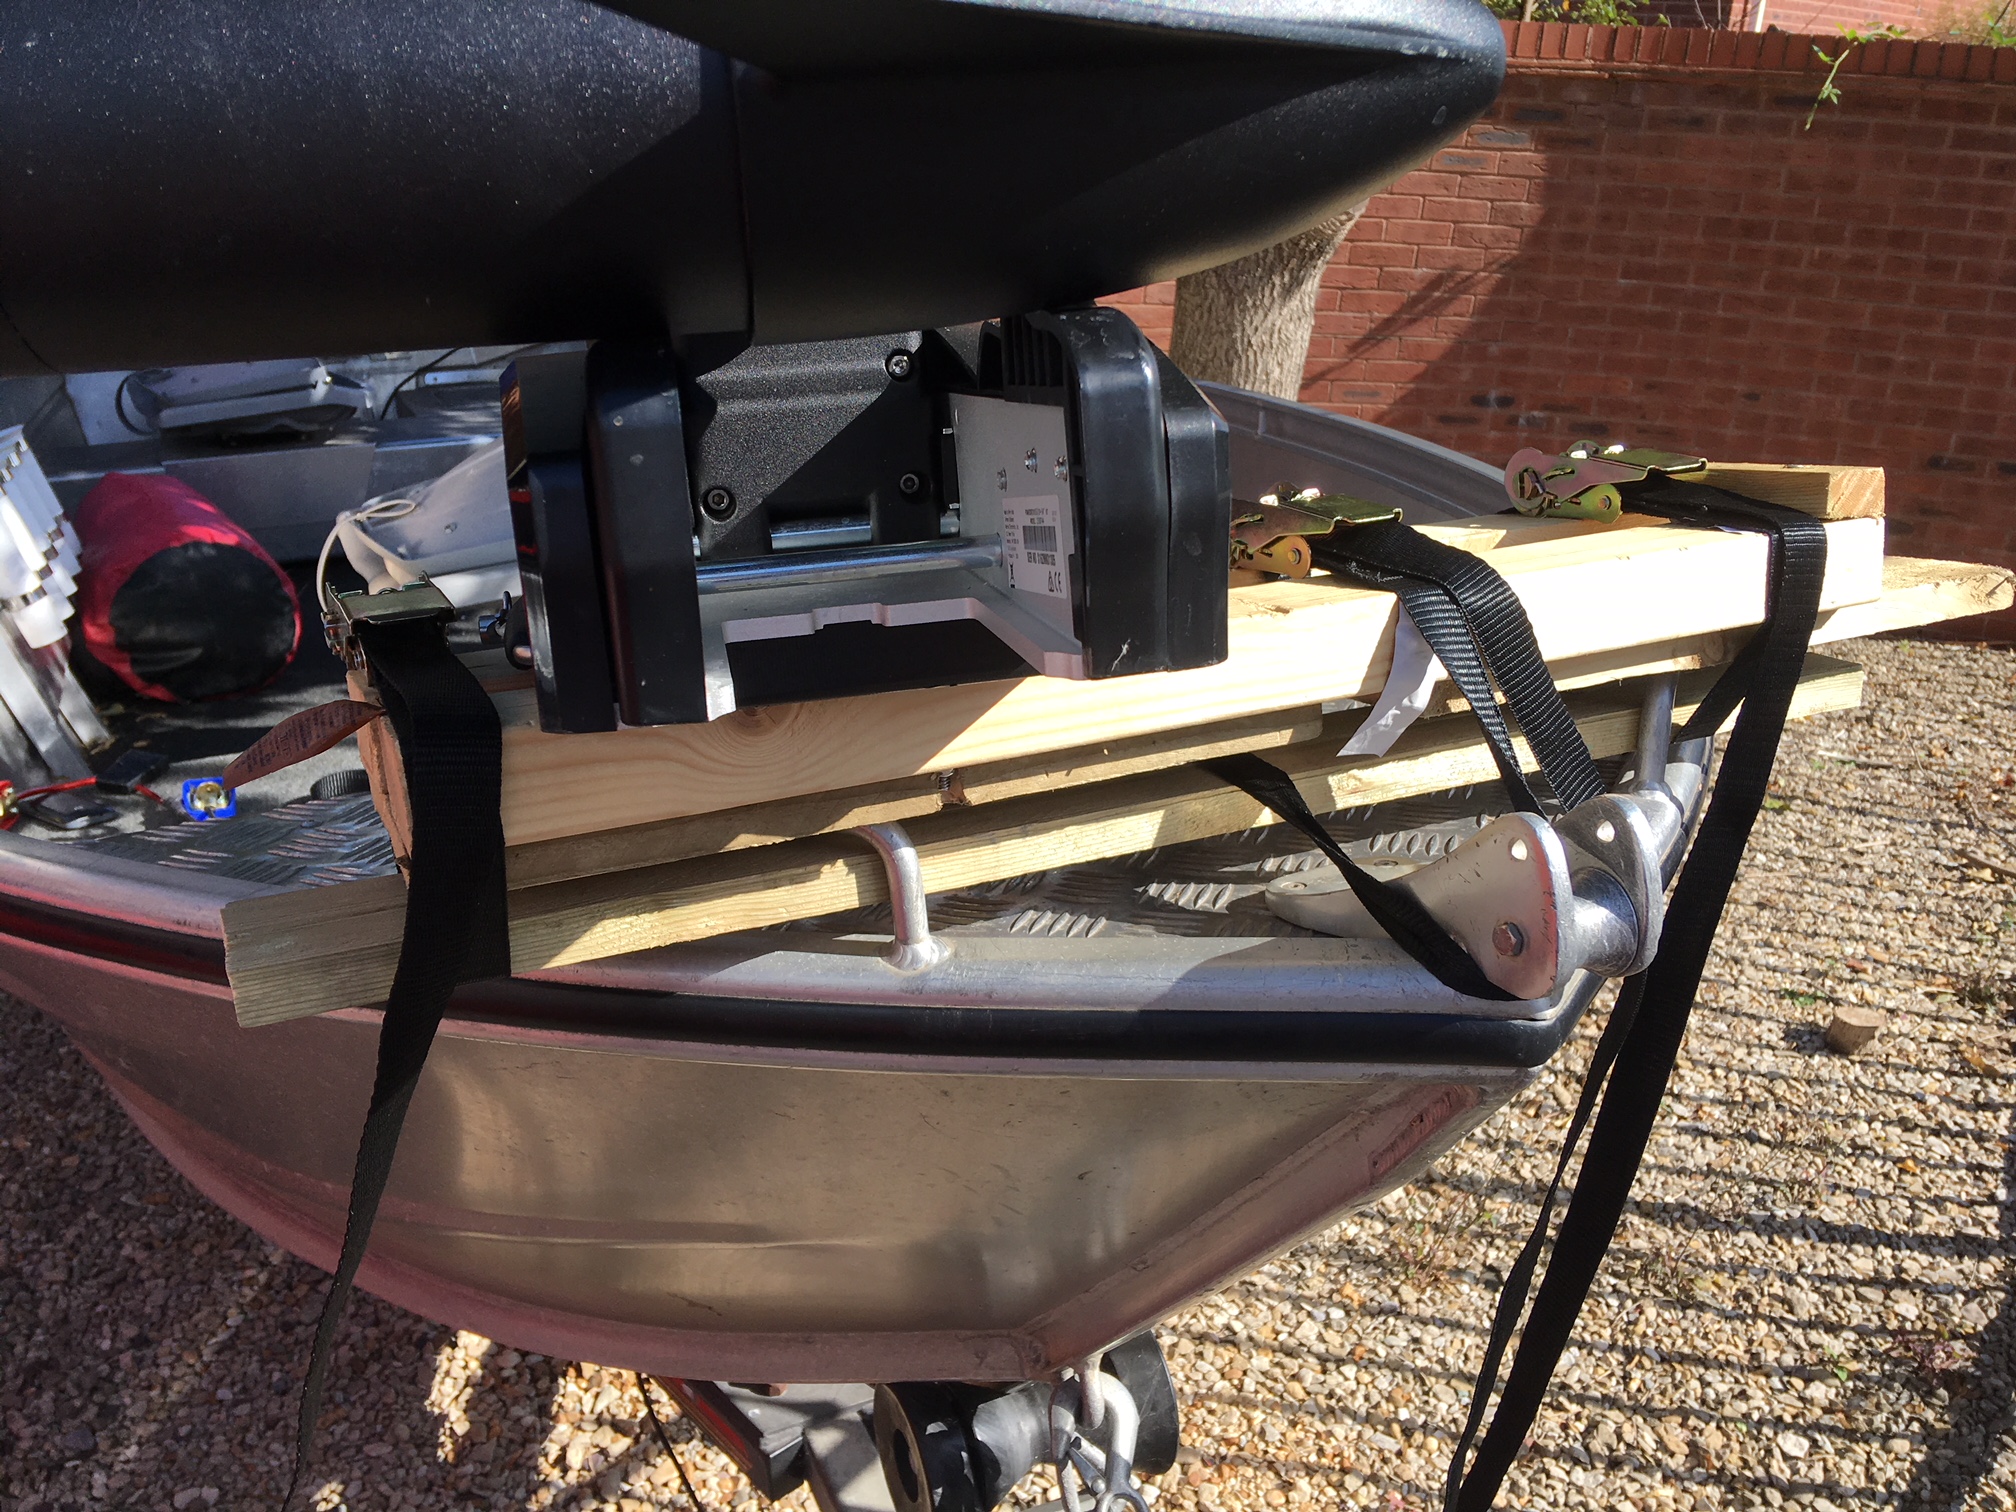
While in this period of lock down, I have finally got around to doing a couple of jobs on the boat that I have been putting off for a while, just due to the fact that I haven’t had the time, and have made do with some bodges. The first was fixing the bow mount engine quick release plate. I had put this off, as actually it was quite a big job on this boat, involving cutting a hole on at the bow casting deck, which you really don’t want to do unless you have to. So the bodge I was using over the last couple of years was simply mounting the quick release on two bits of wood that was ratchet- strapped to the handles at the bow of the boat. It worked ok, the engine was a bit high, and it did obscure vision a bit while using the main engine, but it was acceptable for a short term fix.
Eventually I wanted to fix it to the boat correctly, so last week during my “enforced” spare time, I got cracking.
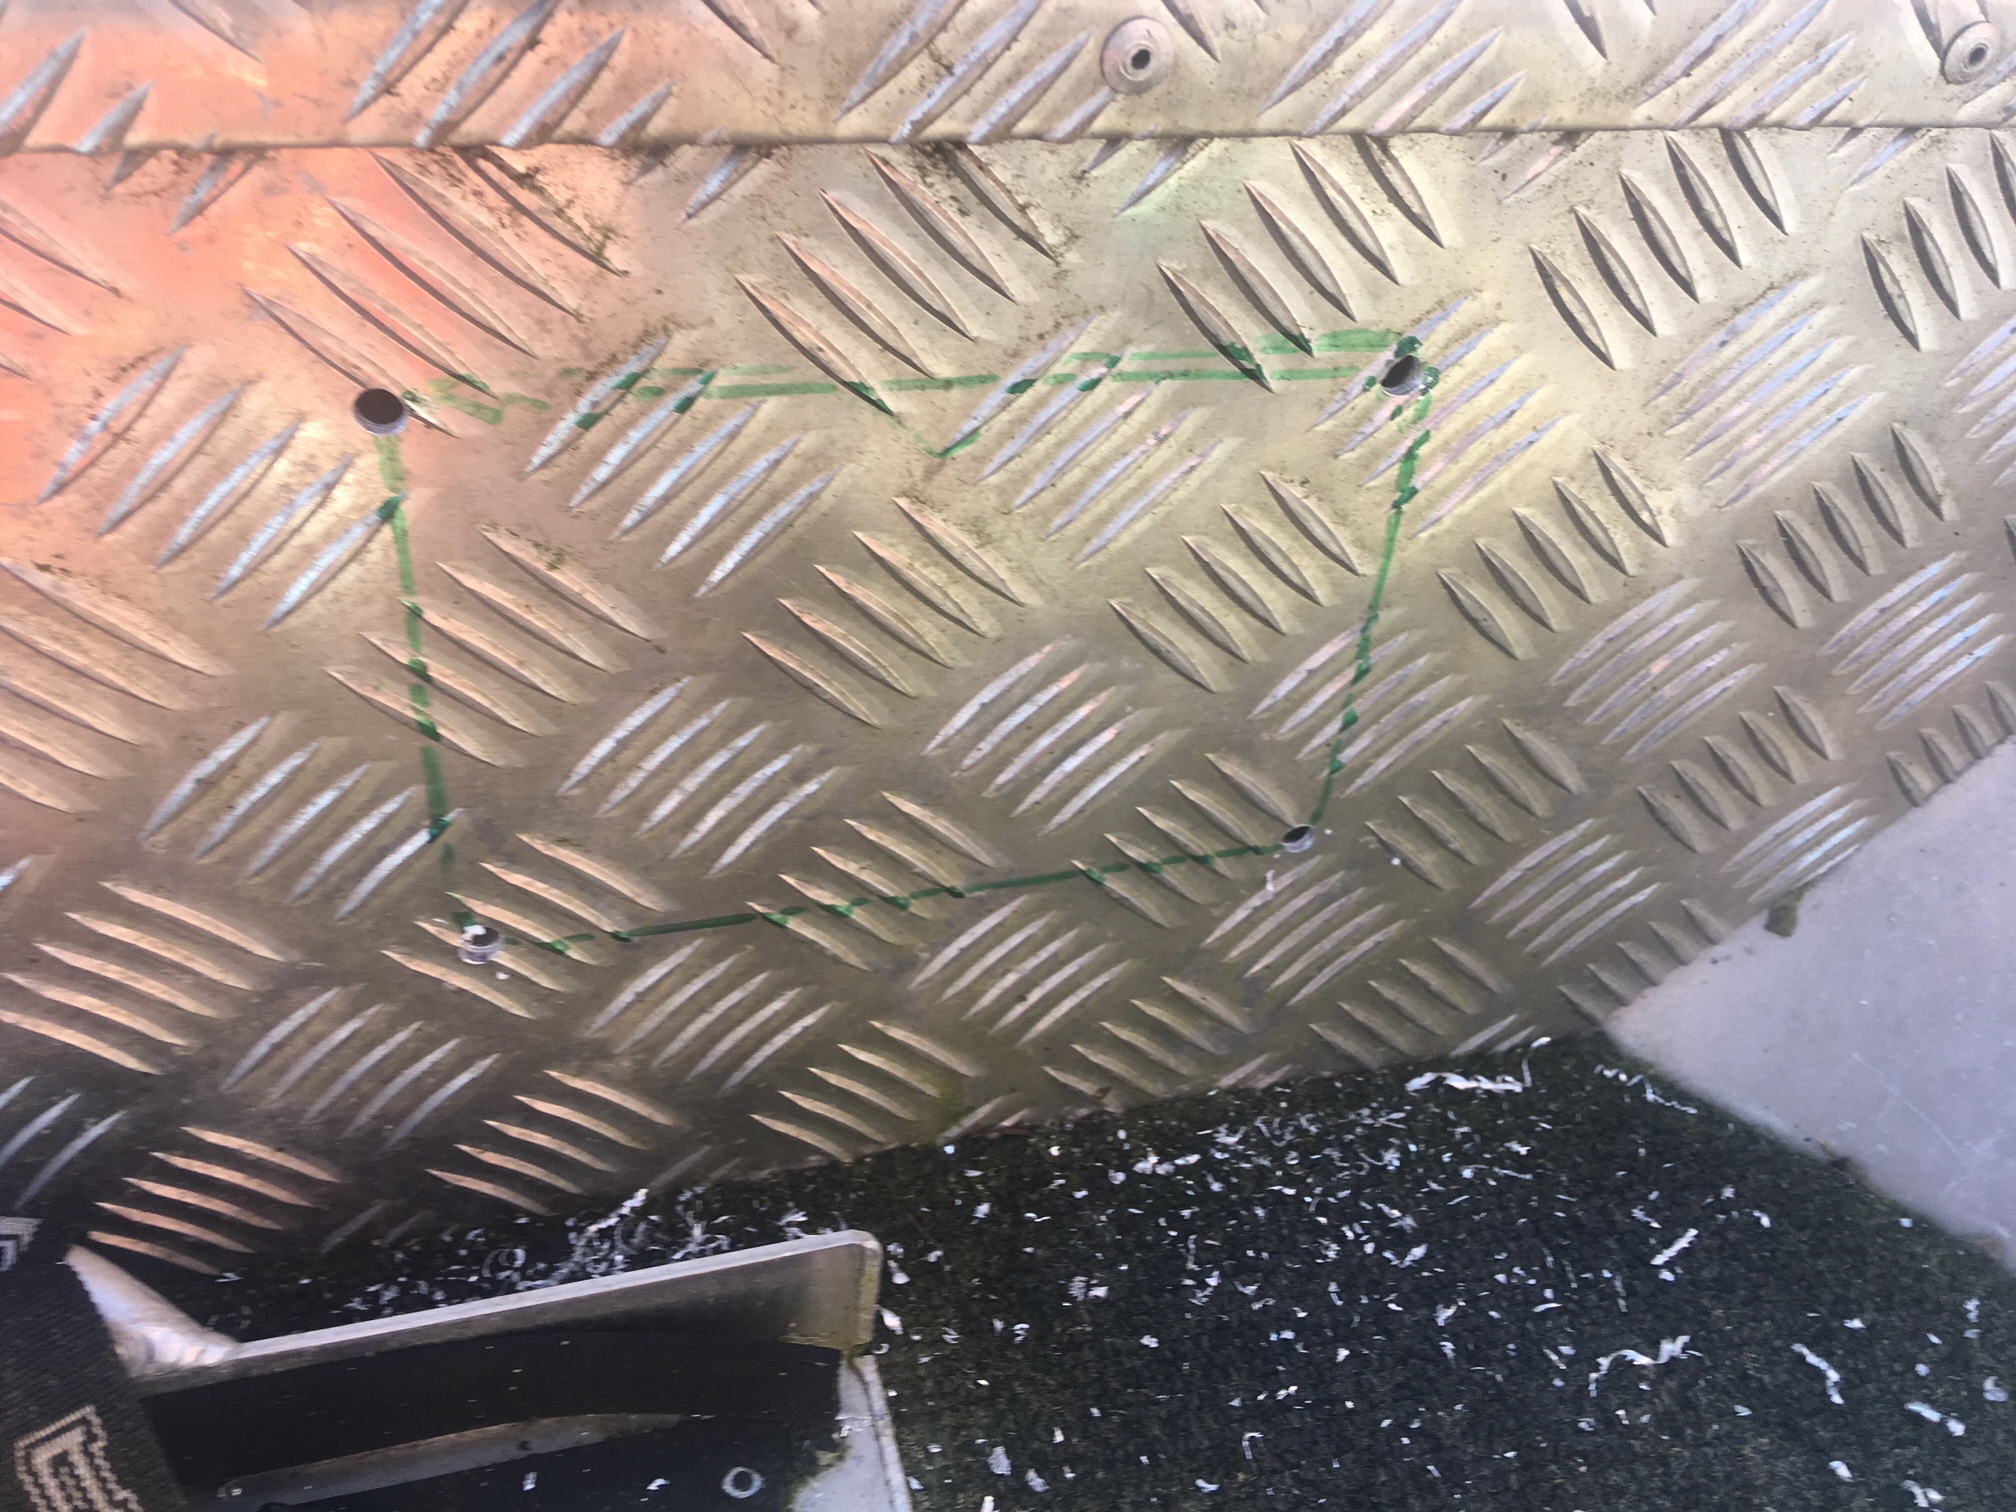
The first thing I had to do is cut the starboard side handle off, as this was right where the engine needed to go. This was fairly simple with to do with an angle grinder. The next thing was the cleat at the front of the boat it was slightly in the way so I needed to move it. As it was bolted on I needed to get inside the front deck to get to the bolts. I needed to get in any way to bolt the engine mounting plate on anyway so I had to cut a hole in the deck – not something that you look forward to, but again it was fairly simple. First I marked it out then drilled the corner points and cut the rest out with angle grinder. Alas I had to make a bigger hole then I wanted which is the benefit of having big arms that need to fit in to get at the bolts!
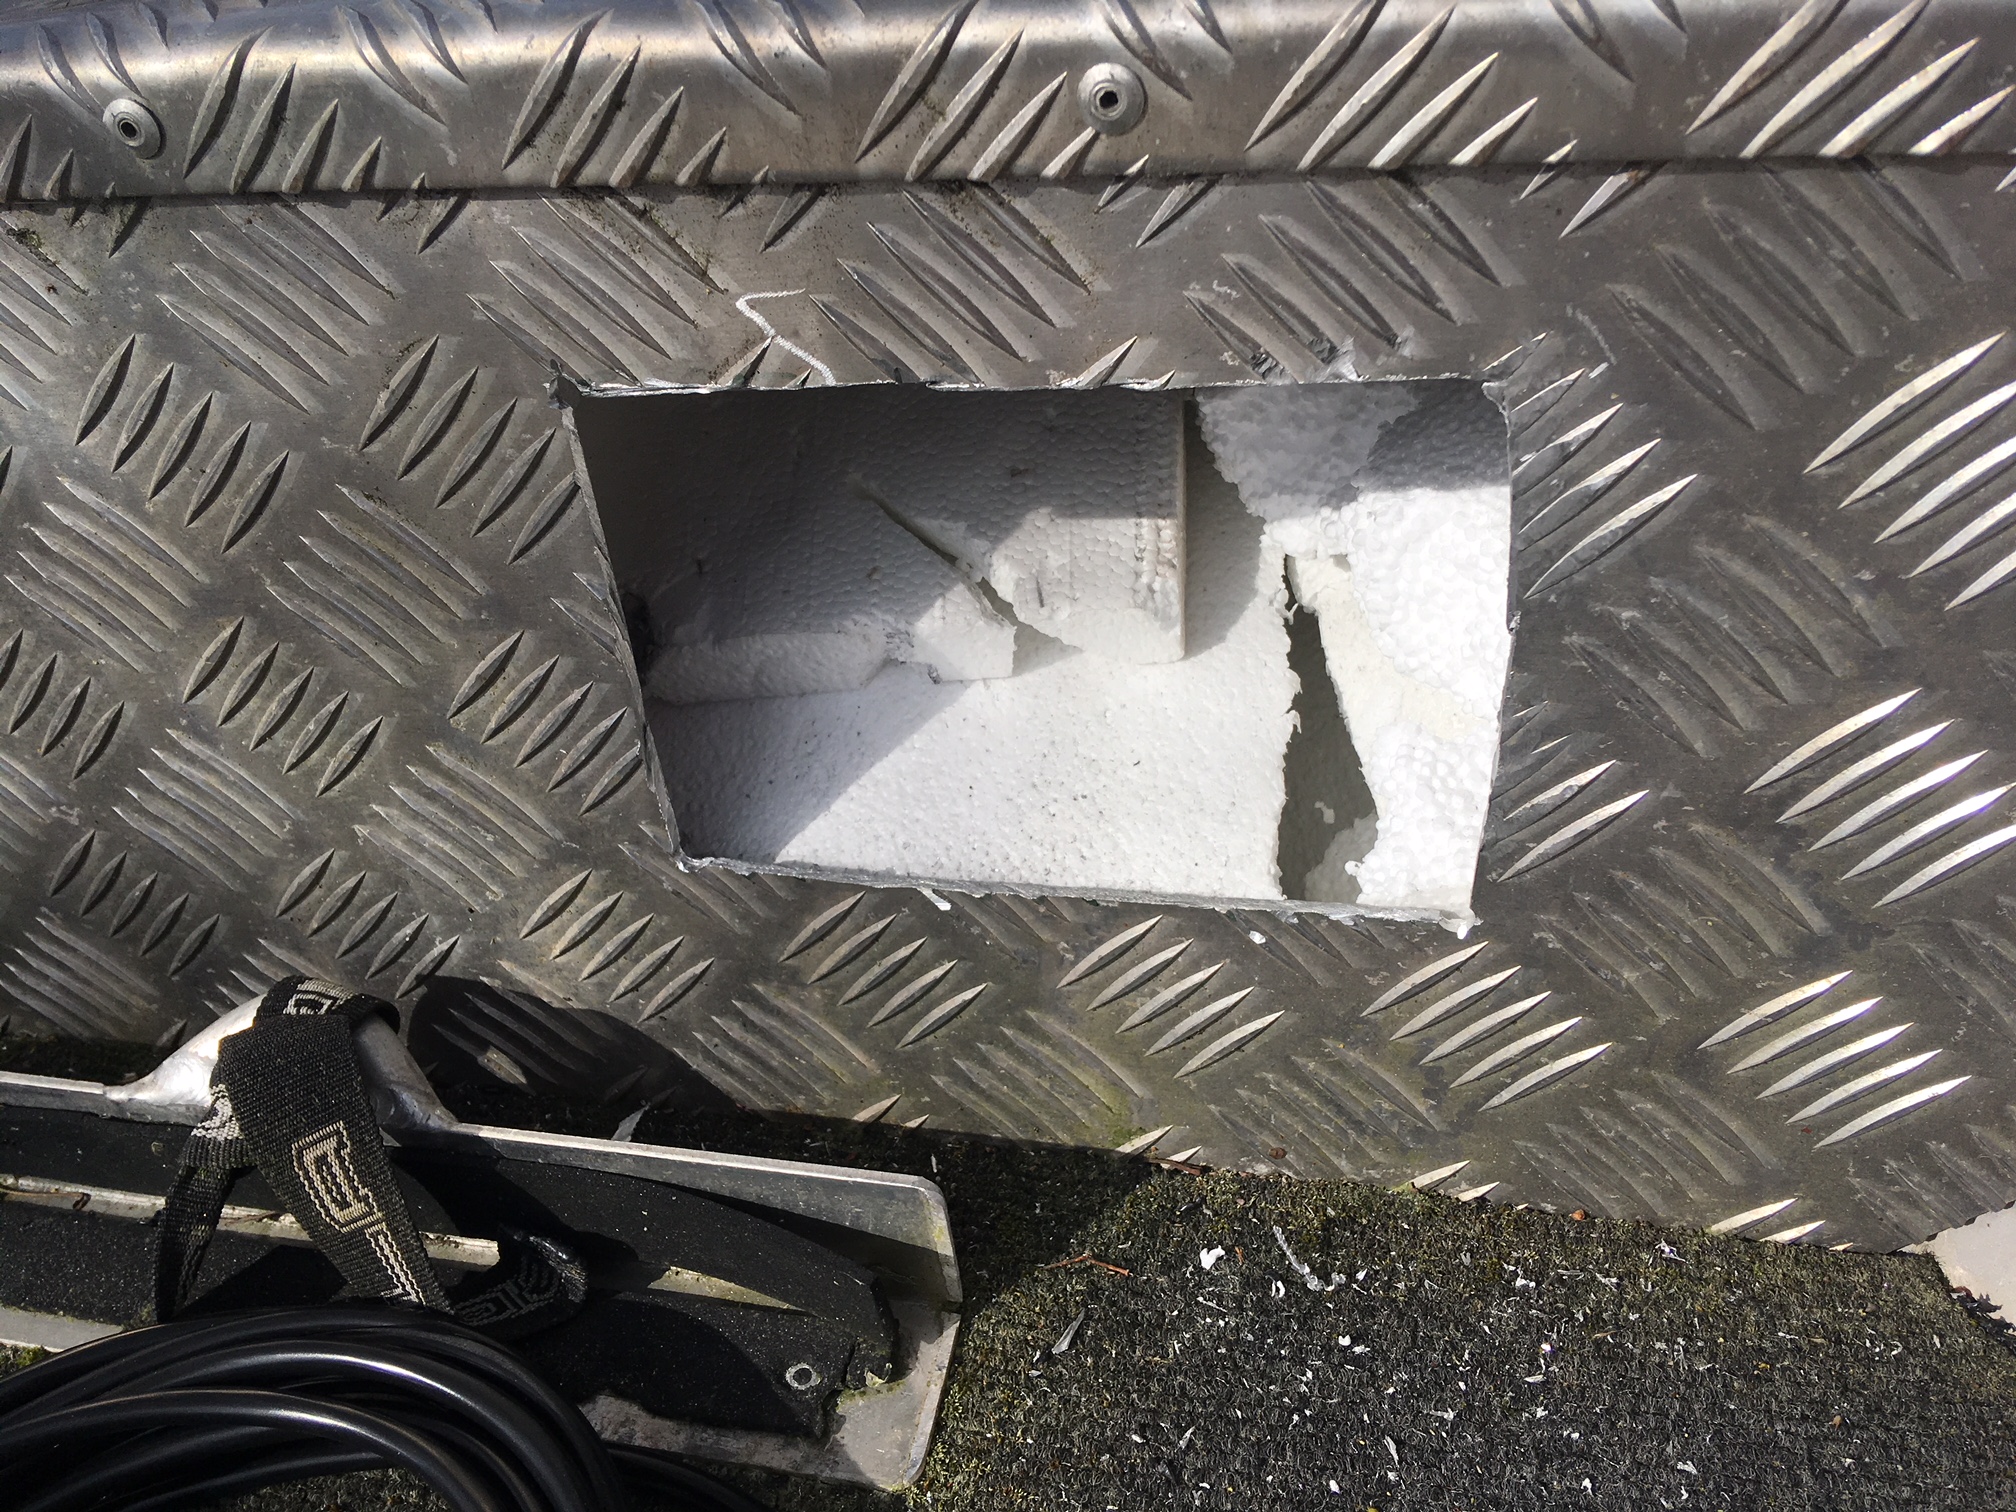
The bow of the boat is one of the areas that holds the flotation, in this case sheets of polystyrene, I had to move a couple out the way to get in, but it is important not to get rid of them and they will be replaced afterwards so the buoyancy remains the same.
The front cleat was a pain in the ass, even getting inside I couldn’t get the bolts off as they had seized on, so, then as a last results I cut through it with the angle grinder to remove the bolts!
Now the mounting plate on the engine also needed to be adjusted so the engine fitted correctly in the down position, and didn’t clip the side strip of the boat. Luckily the mounting plate has an option to offset it so it hangs slightly more over the side, so that’s how I fixed it to the engine.
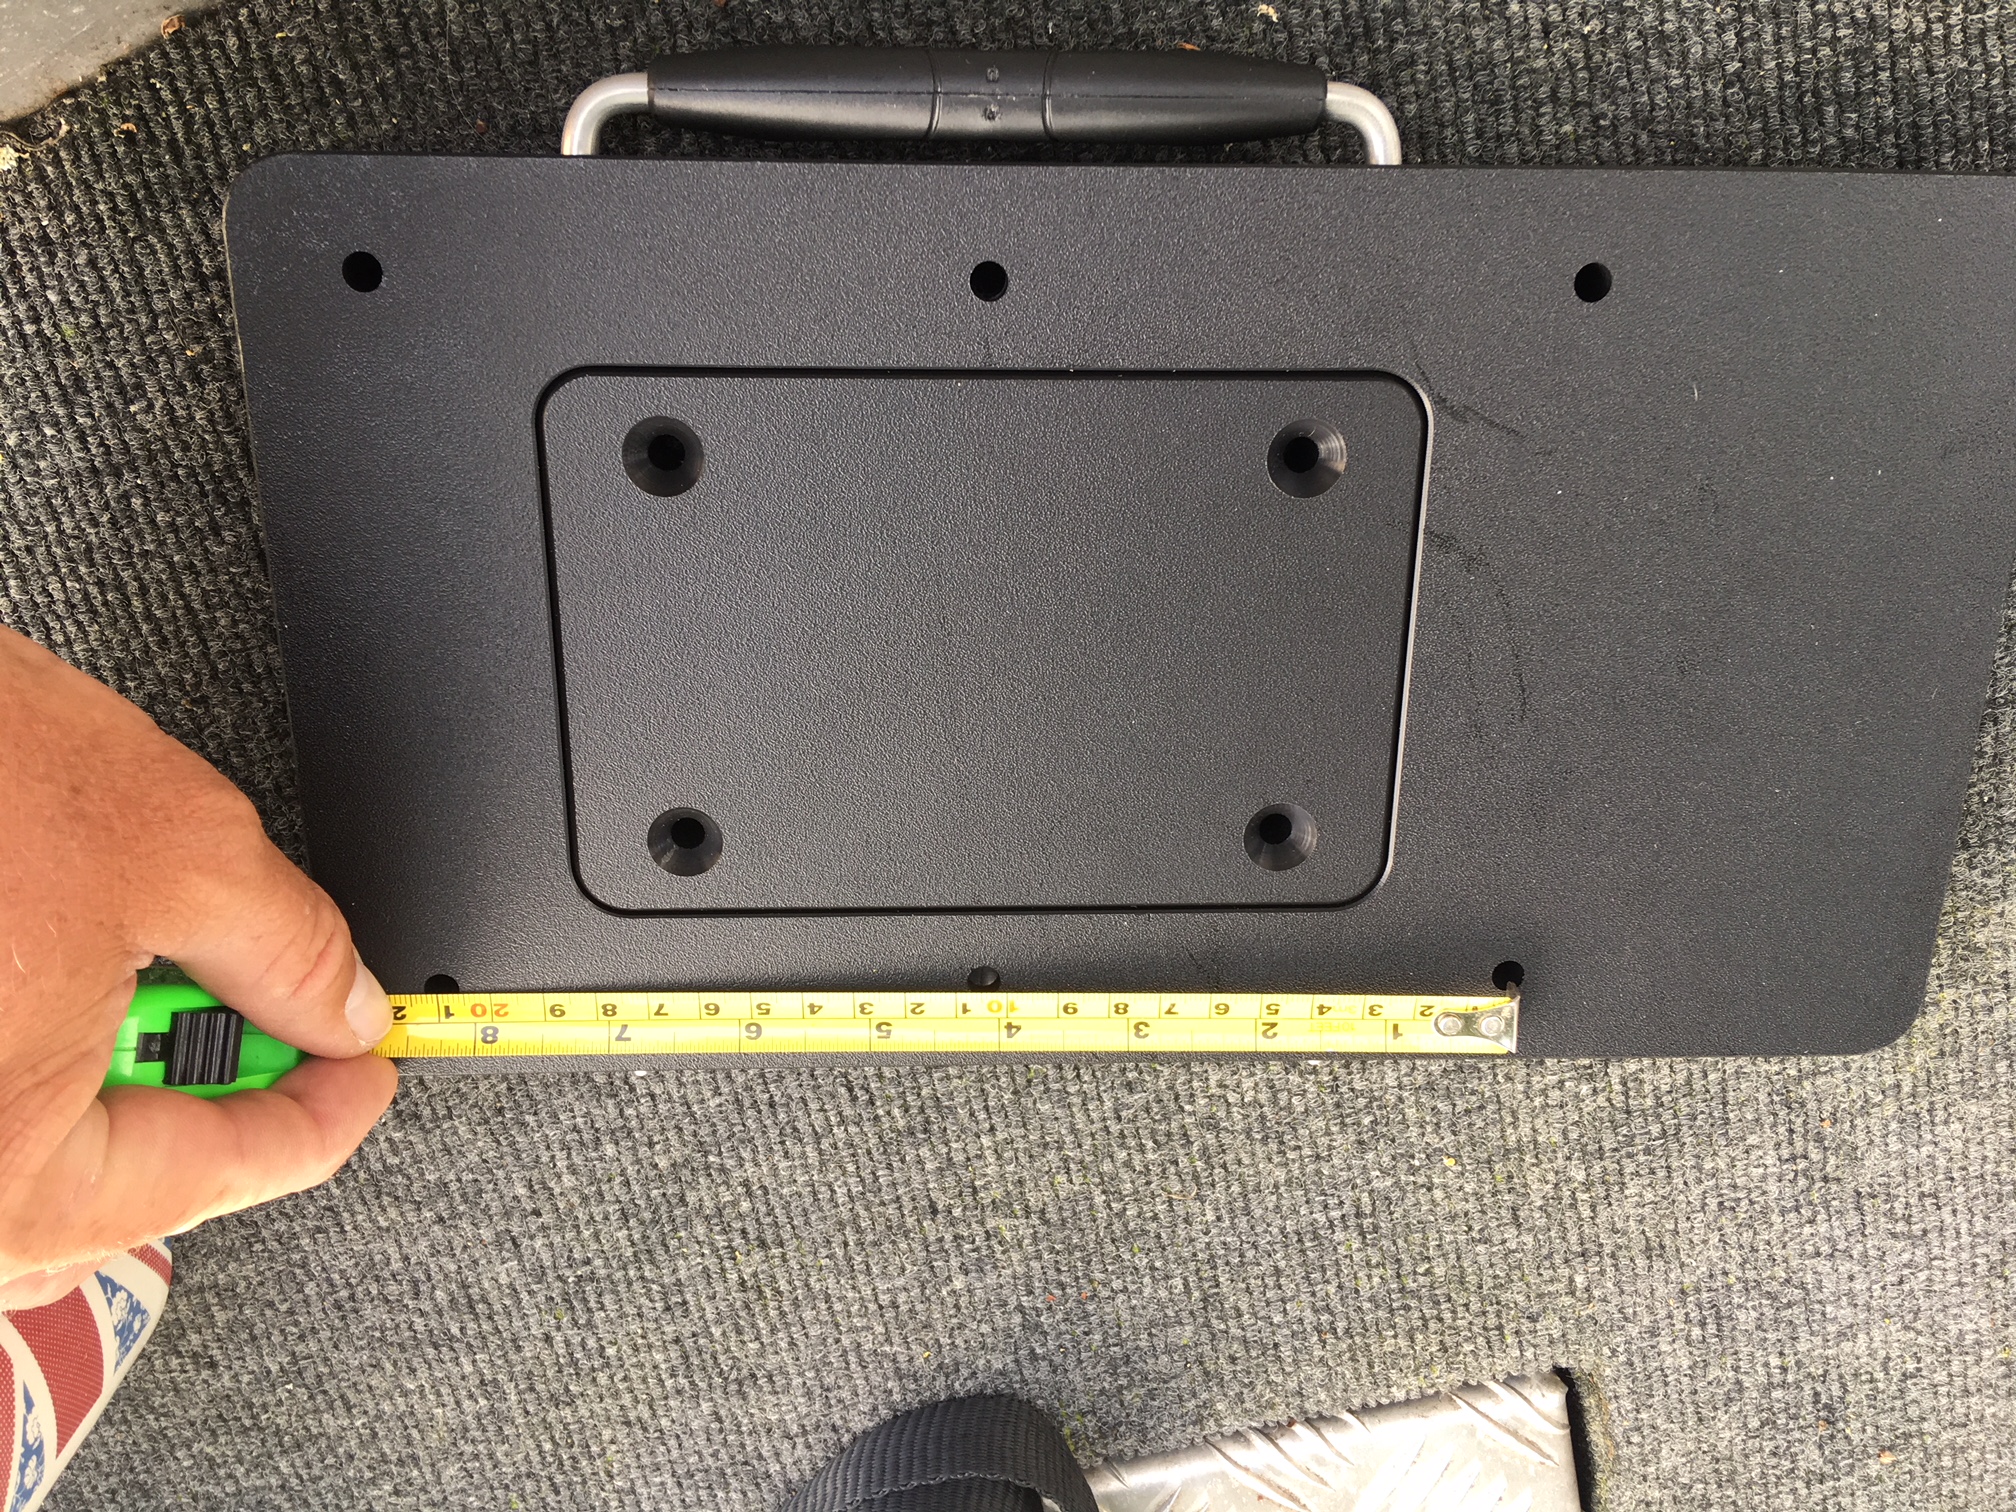
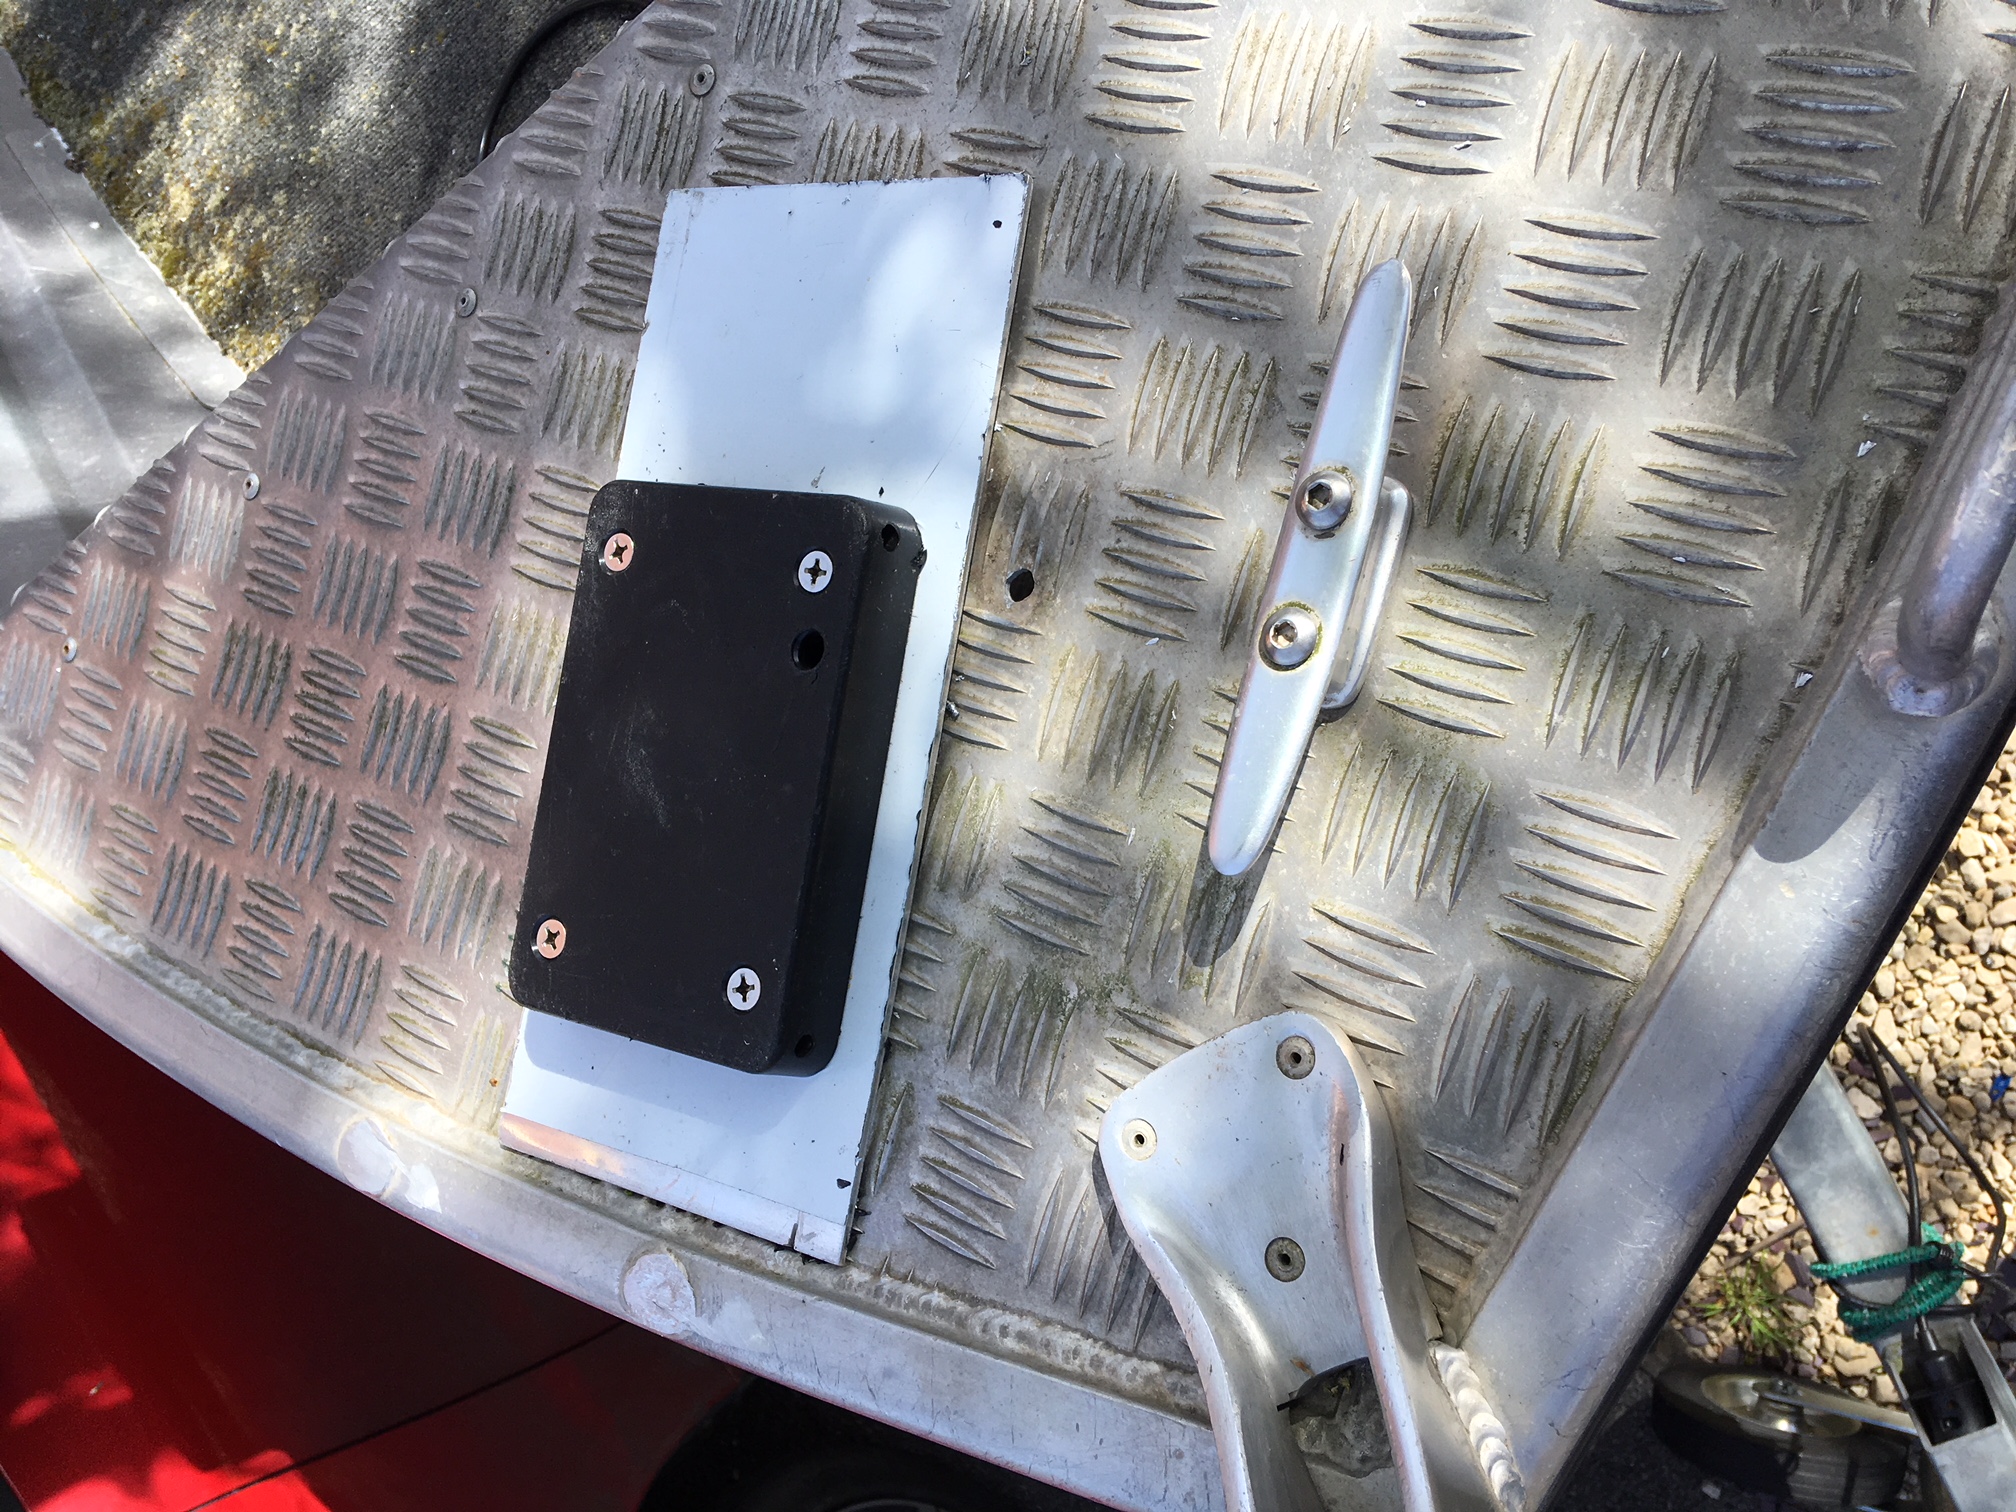
The next problem was fixing the second part of the quick release mounting plate on to the boat. As it turns out the front of my boat where I wanted it fitting was slightly wonky! Only by a couple of mm but it meant that the plate wouldn’t sit flush. Not an issue as I had a spare bit of aluminium plate kicking around in the garage and I put this where the quick release plate was going and put a couple of aluminium washers under one side to level it on the tread plate.
Then it was simply a case of drilling the holes for the plate and bolting it on.

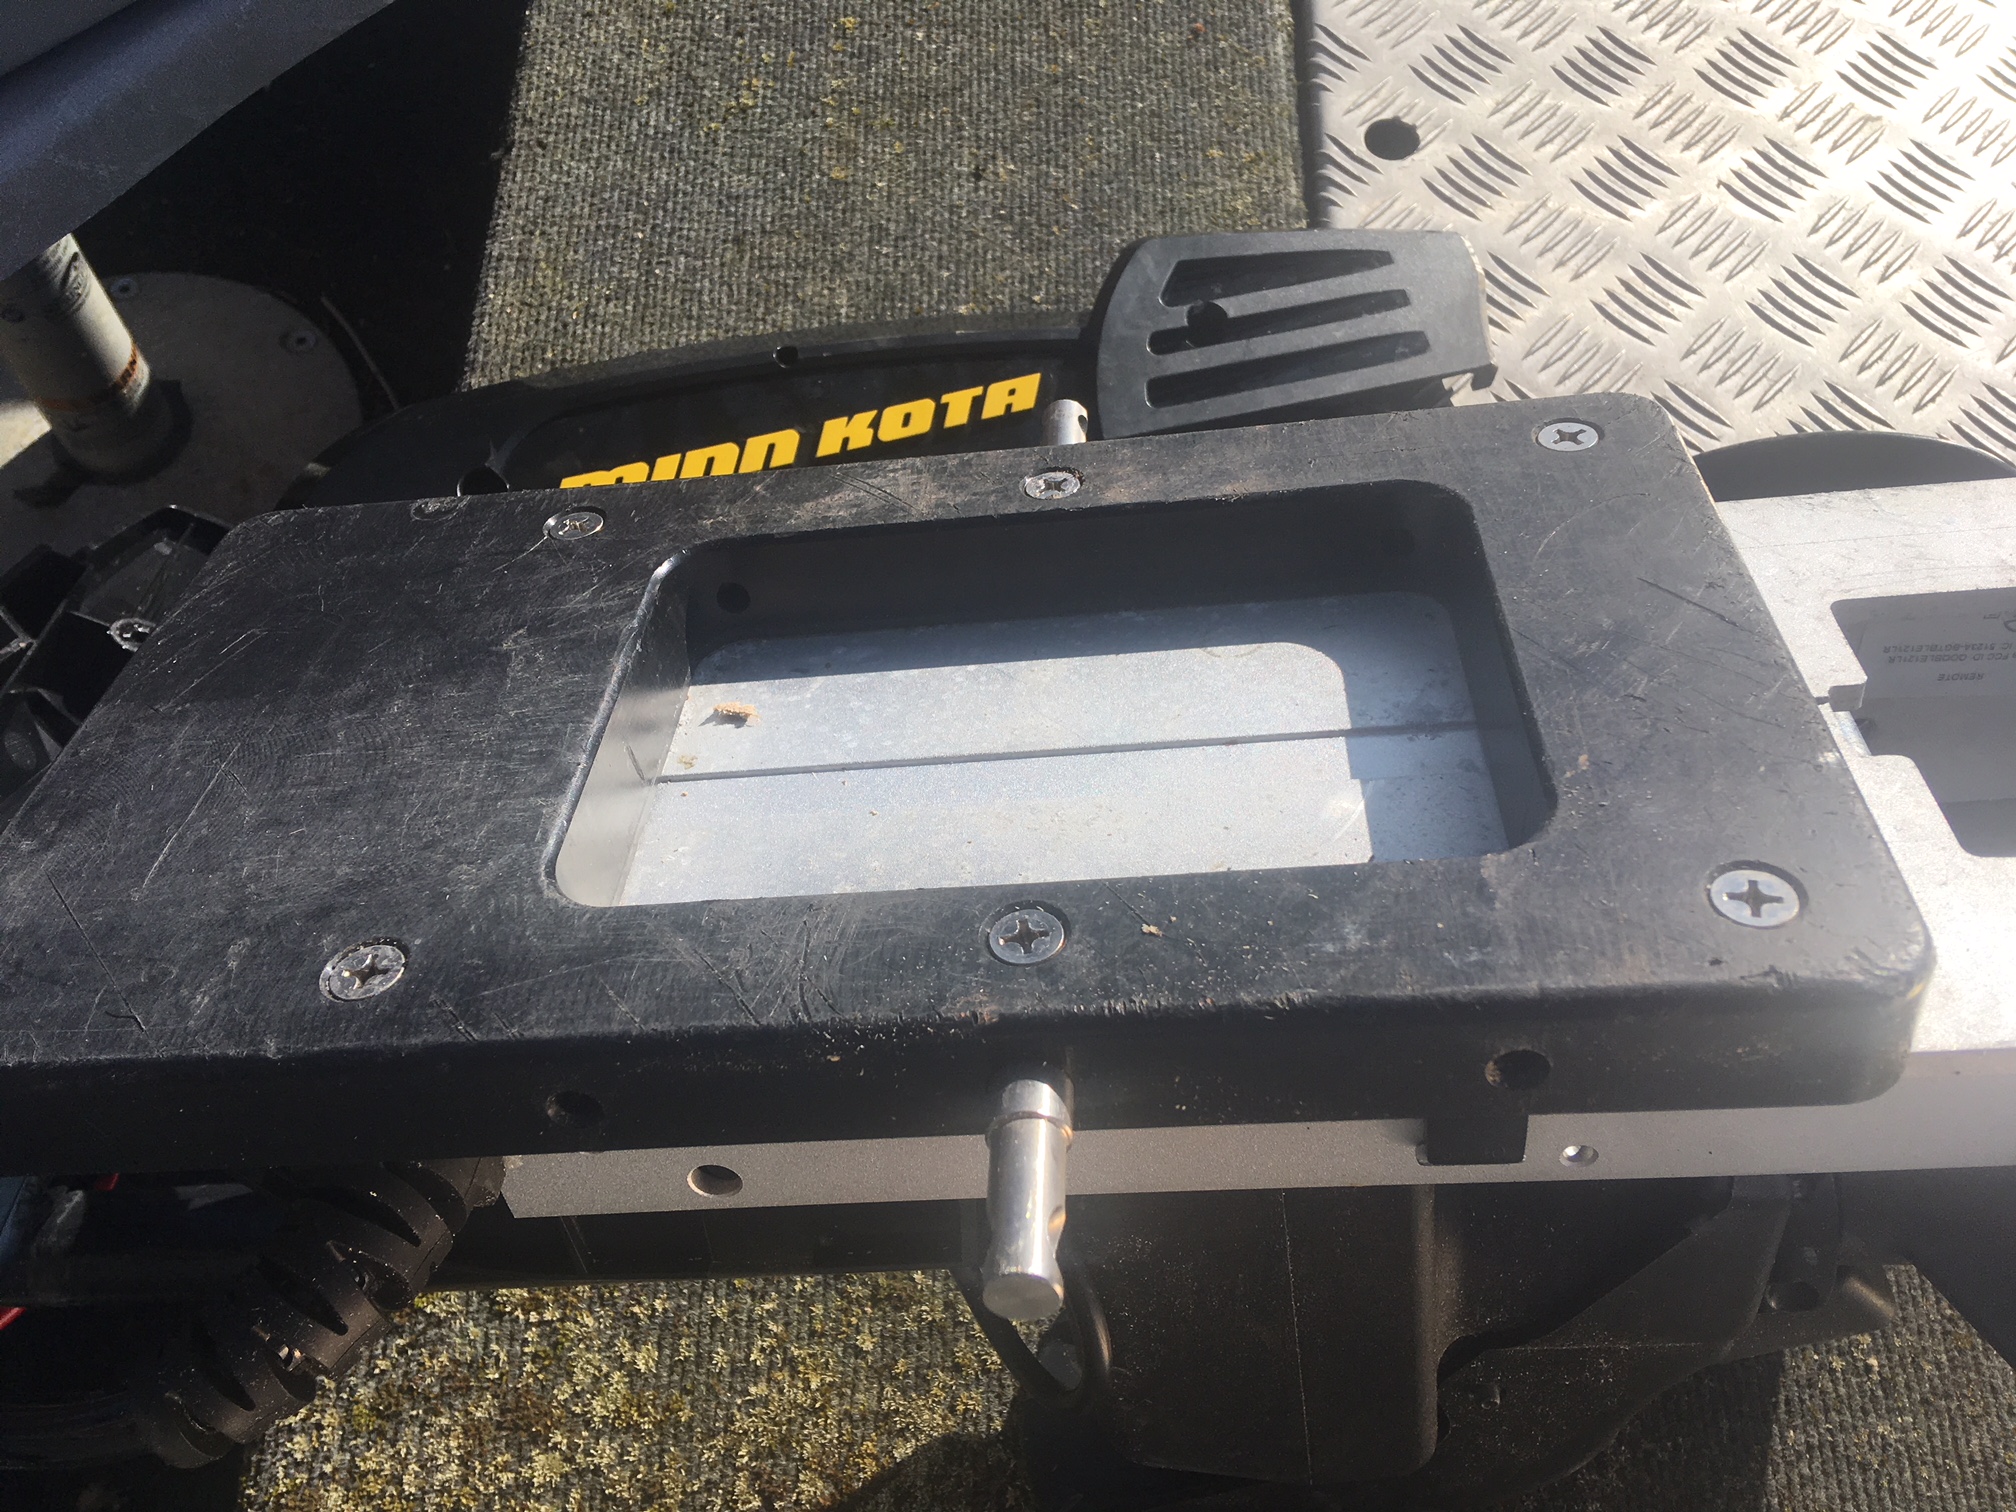
As usual with these mounting plates, the engine side holes needed a slight enlarging to fit in, but its on, and sits just nicely within the boat when stowed, and deploys easily without clipping the side.
I then replaced the cleat at the front at a slightly different angle, as I still need this should I wish to anchor. The final job is sealing the hole in the deck up, which I am going to do by riveting an aluminium plate over it, however while the bow is open I am going to take advantage of doing the electrics of the boat and putting a switching panel in here first. Which I will write about later.