Night Time Photography
Unusually for me, I have been doing a lot more night fishing lately. Don’t get me wrong, I quite like fishing at night, but, in most instances, I don’t think I need to do it to catch good fish. However, this year, with high temps and low flows, the fishing, as you would think, has been a lot better after dark on most stretches.
Now night fishing brings along a whole set of issues that seem simple in daylight, one of the major ones is night time photography. Photographing your catch is easy in daylight, even self-takes are relatively straightforward once you have done a few. However at night it gets a whole lot more complex, just because it’s well .. er.. dark!
Now I’m not a person that would be happy with a mobile phone-type photo for a good fish. I know a lot of people are, but for me I like good quality photos, and I need good quality photos for any magazine work I do, so my set-up is probably a bit OTT for most, but it works.
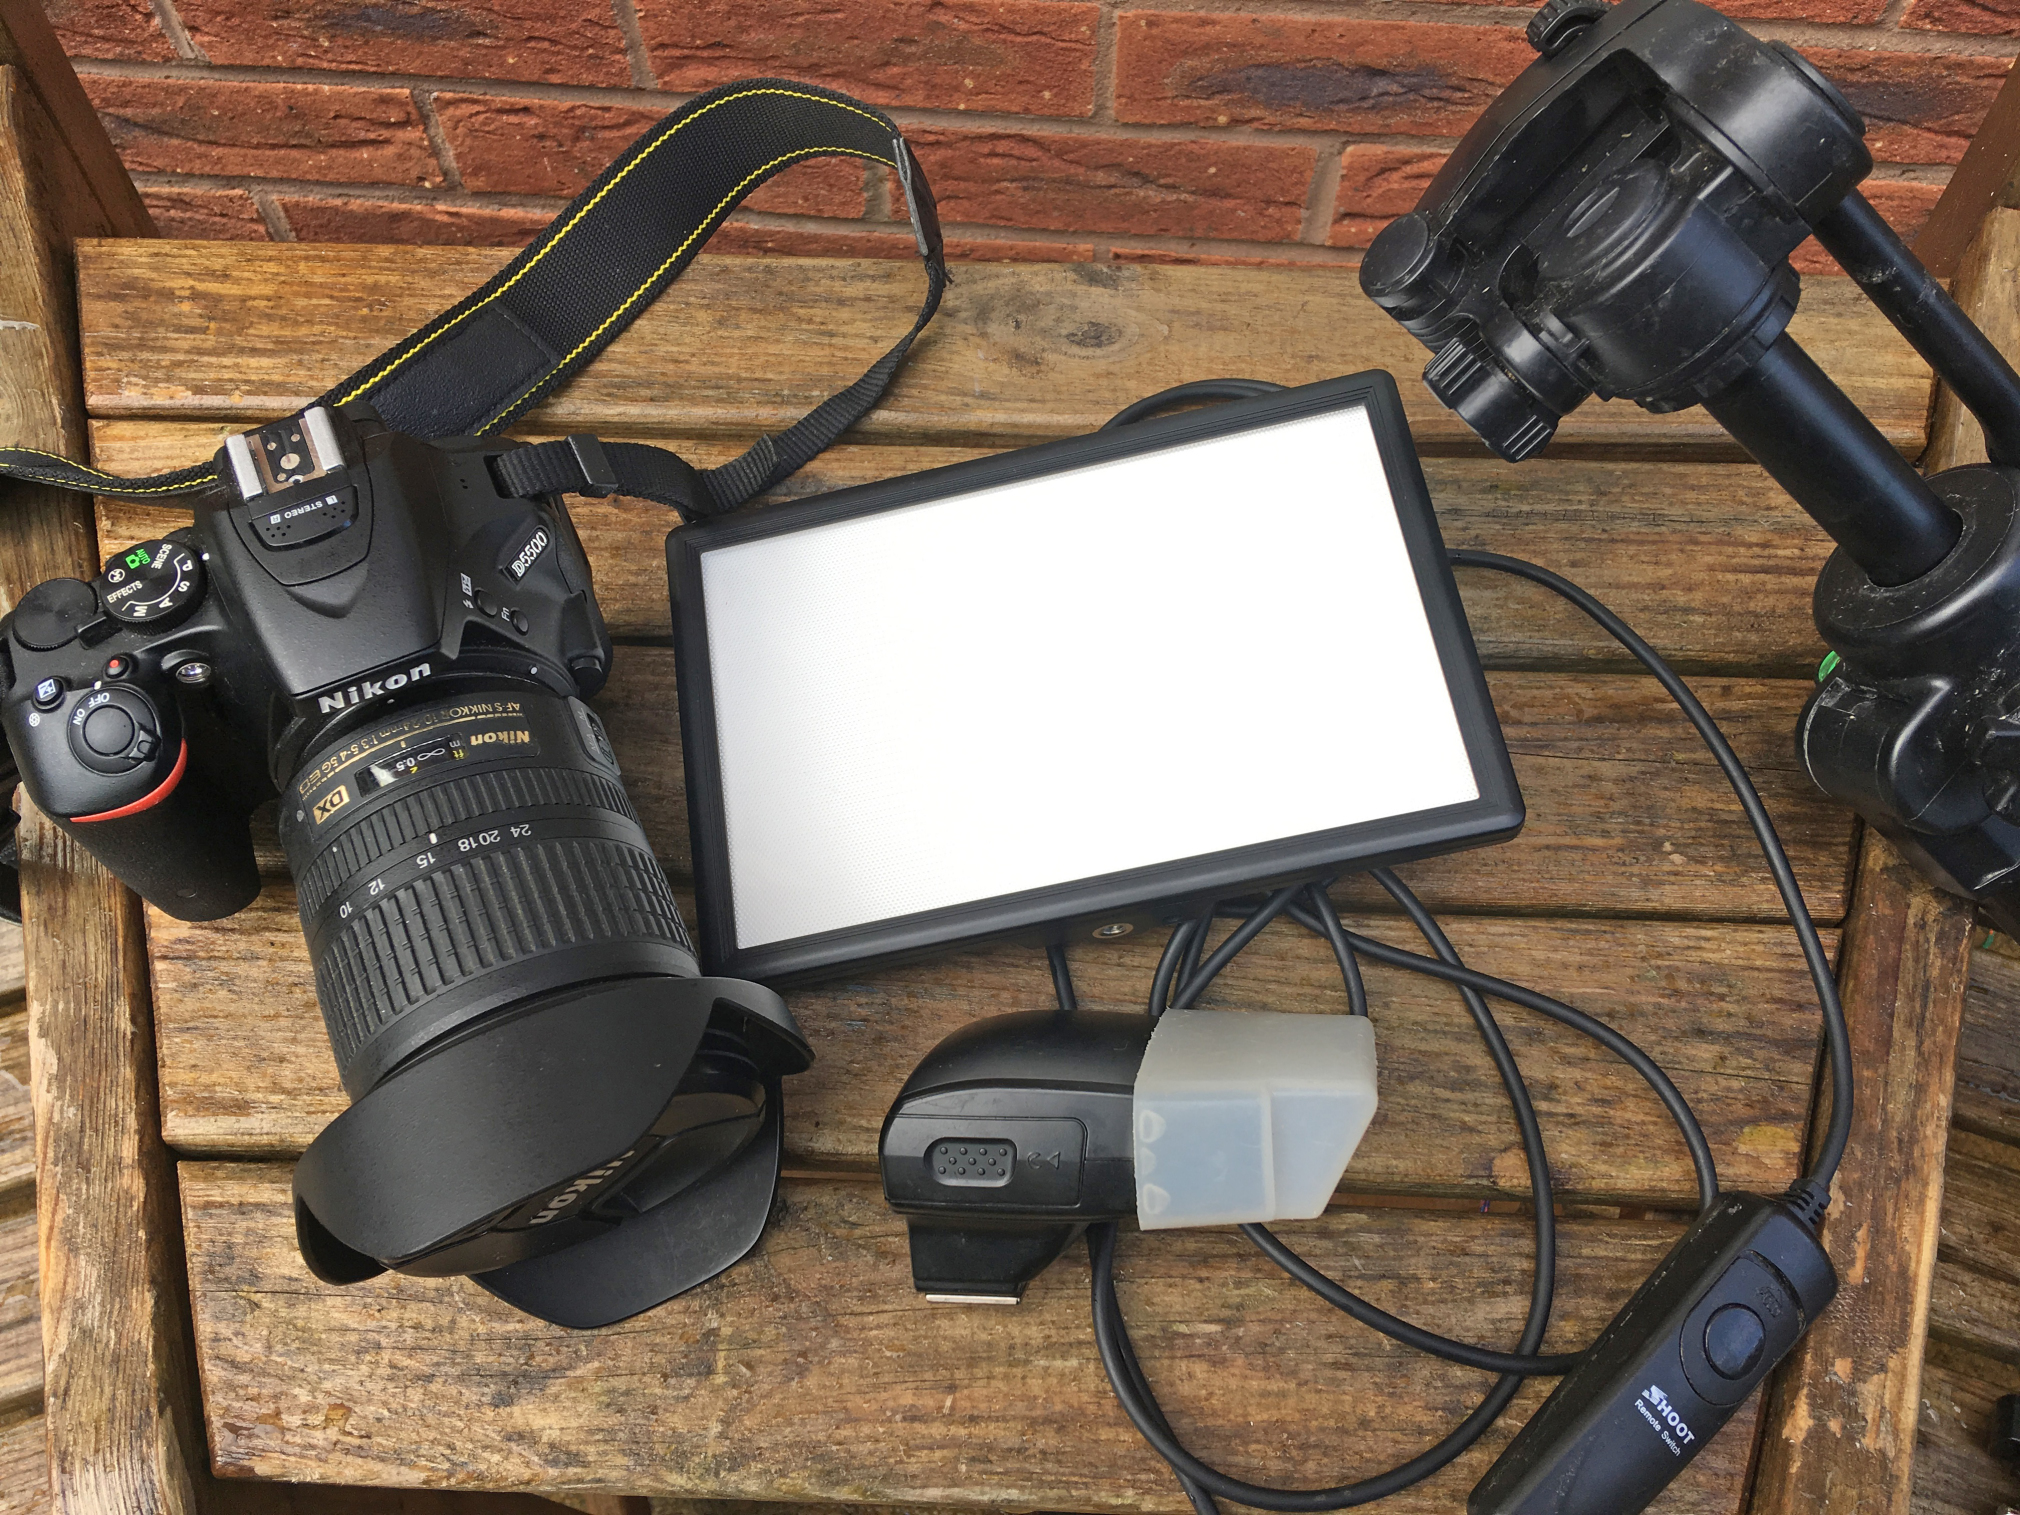
For most of my self-take photography I use a NIKON 5500 which has a convenient flip screen to see yourself (and fish) before you take the shot, there is a movable “focus” point – which I usually position either on the centre of the frame or move to where the fish’s head would be.
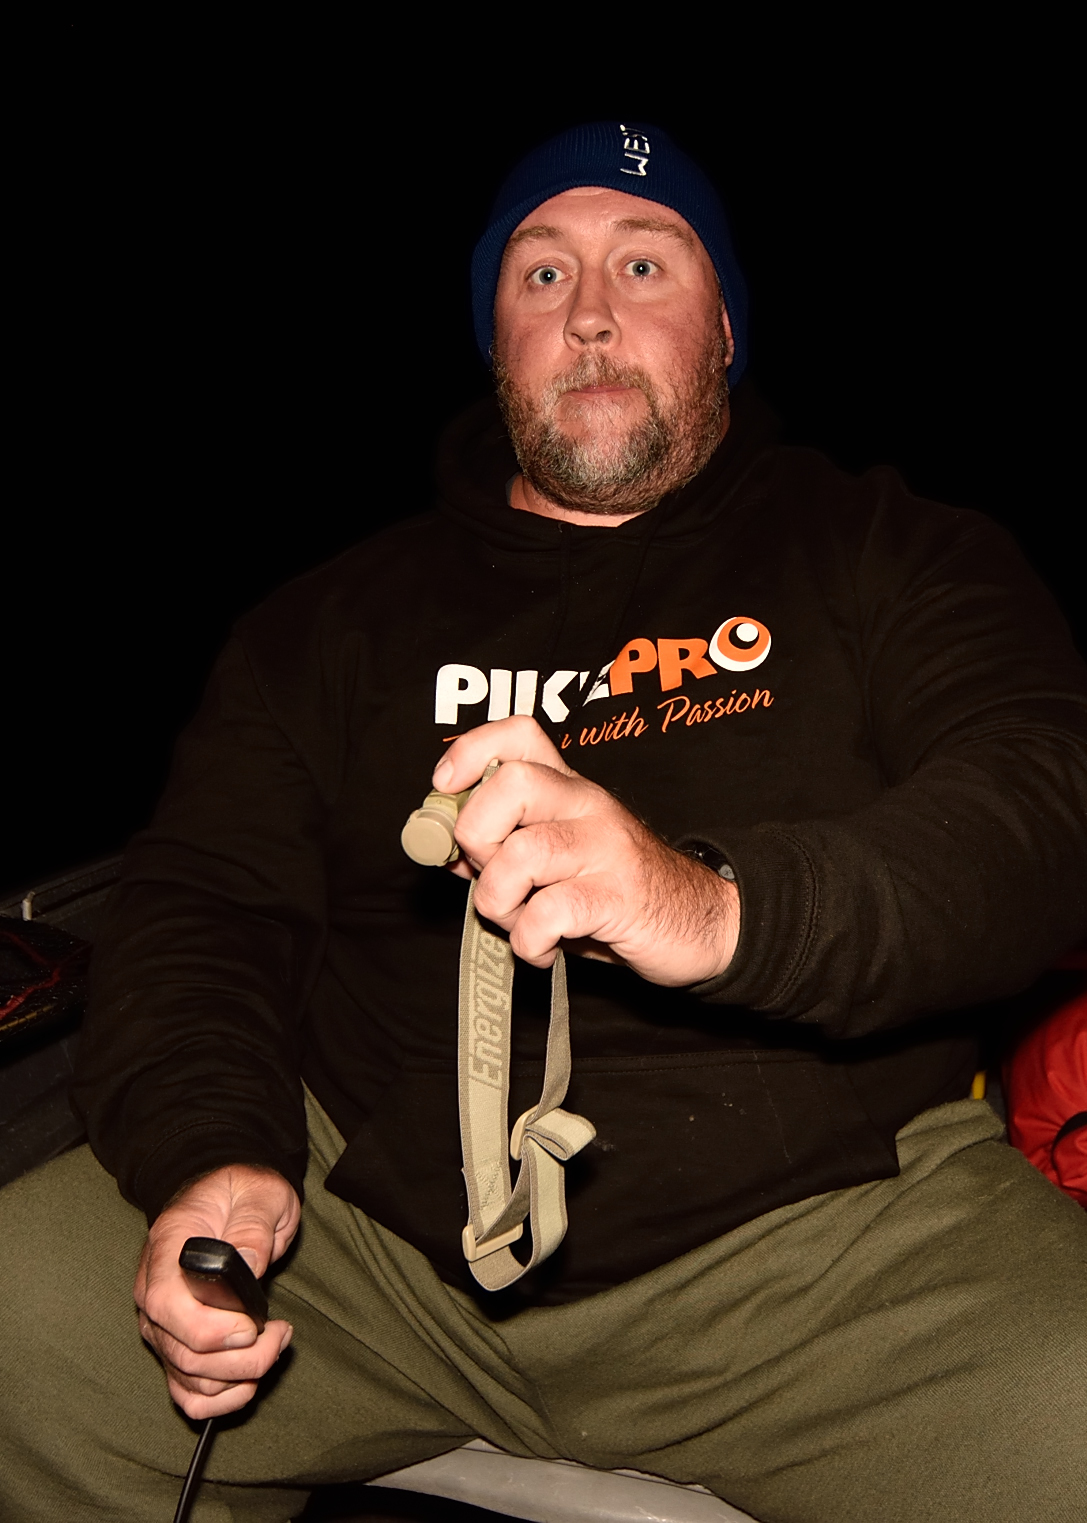
I use a cabled shutter release because the IR ones are pants,and difficult to use while holding a fish, and a “wired” system is less likely to go wrong than a wireless one, it’s simply belt and braces.
I have my camera set up so when I press the shutter release it activates a 5 second timer, then takes three shots with a slight pause in-between. This enables some slight adjustment of the fish for each shot, and hopefully one of the shots comes out without me pulling a face, looking the wrong way or blinking.
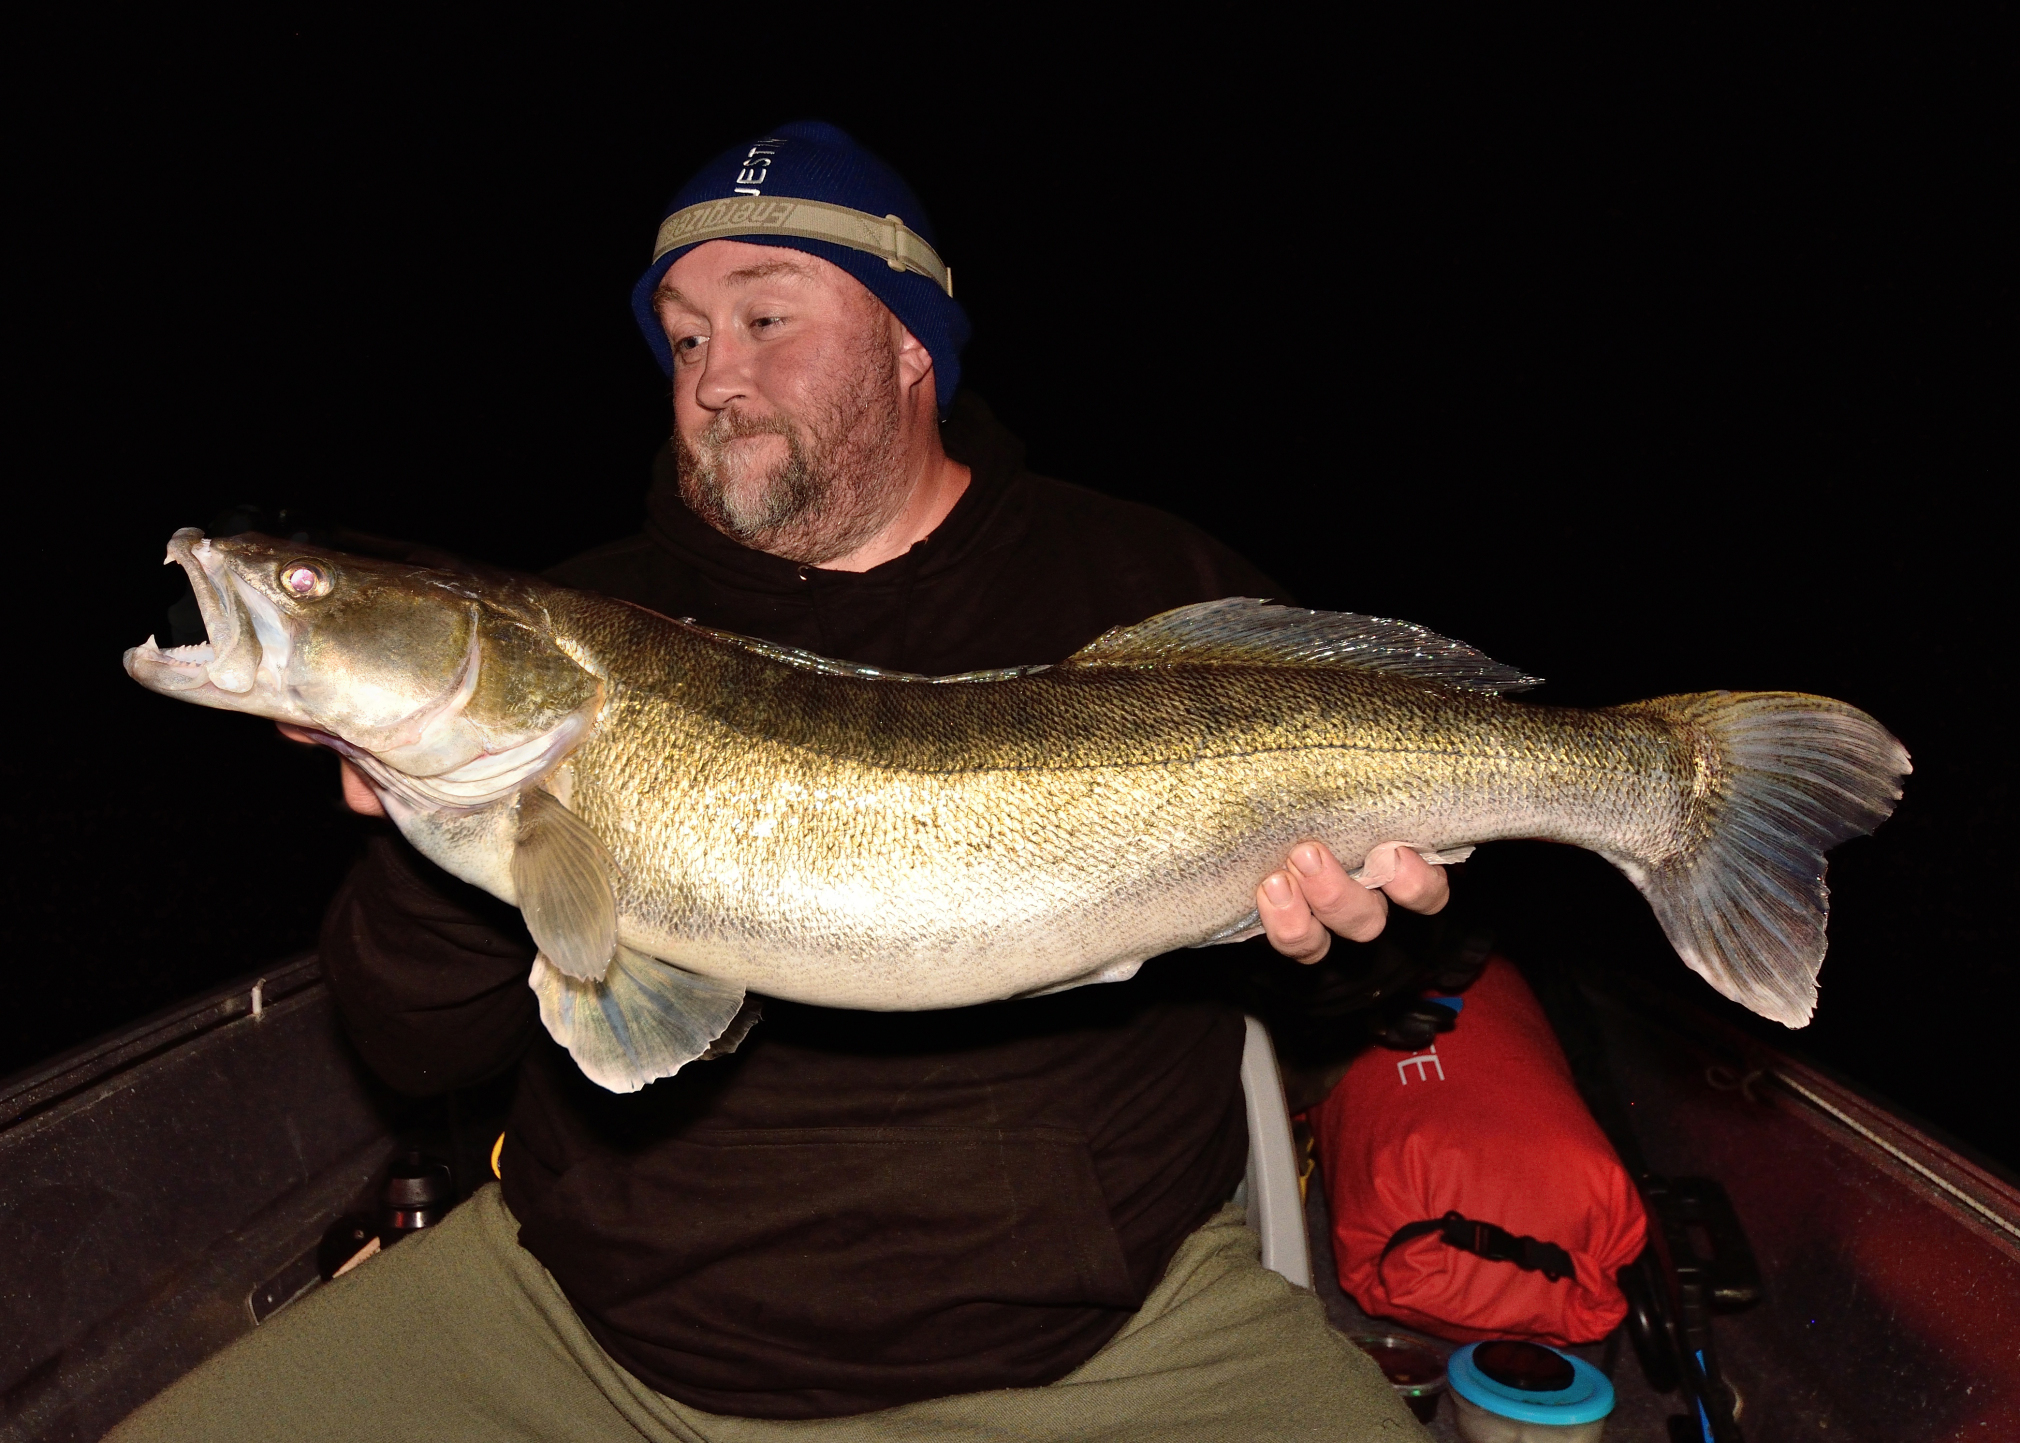
In the day time I will always use a fill-in flash with a diffuser, this helps get rid of any shadows, and makes the shot “pop” as it were. I use a simple speed light flash SB-400 which fits on the hot shoe. For most conditions I lower this down to – 0.7. Dependent on the environment conditions and the fish I might bump it up a bit more, for example Zander are very reflective and it can be easy to over expose with too much flash.
I generally shoot on P setting and let the camera work out the aperture, the speed is set to 1/200 -1/60 because this is what NIKONs sync with the flash and it’s ok in most catch shot situations. The ISO is usually in the 100 – 200 range I very rarely have to go higher in daylight even on a black and rainy day while using fill-in flash.
At night it becomes a whole other ball game!
The first thing you will notice apart from its dark! Is that it almost impossible for the camera to autofocus at night – you won’t see anything on the flip screen, and if it does focus on something the camera will choose such a wide aperture that the depth of field is minimal, which means it’s easy to get an out-of-focus shot at night.
The two ways to avoid this are: either shoot in manual and focus yourself, which is can be done, but is still tricky at night, or add additional light. This is what I have been doing for years, simply set up a torch or a couple of them, point them at you, and if you have enough light the camera will work with autofocusing, and you should be able to see yourself on the flip screen, then with a good flash it’s job done.
The second technique is by far the easiest and that’s what you want at night, something easy to set up and repeatable each time. There is a slight problem in that the torch can add too much light and create a bright spot on the subject, or slightly over expose an area.
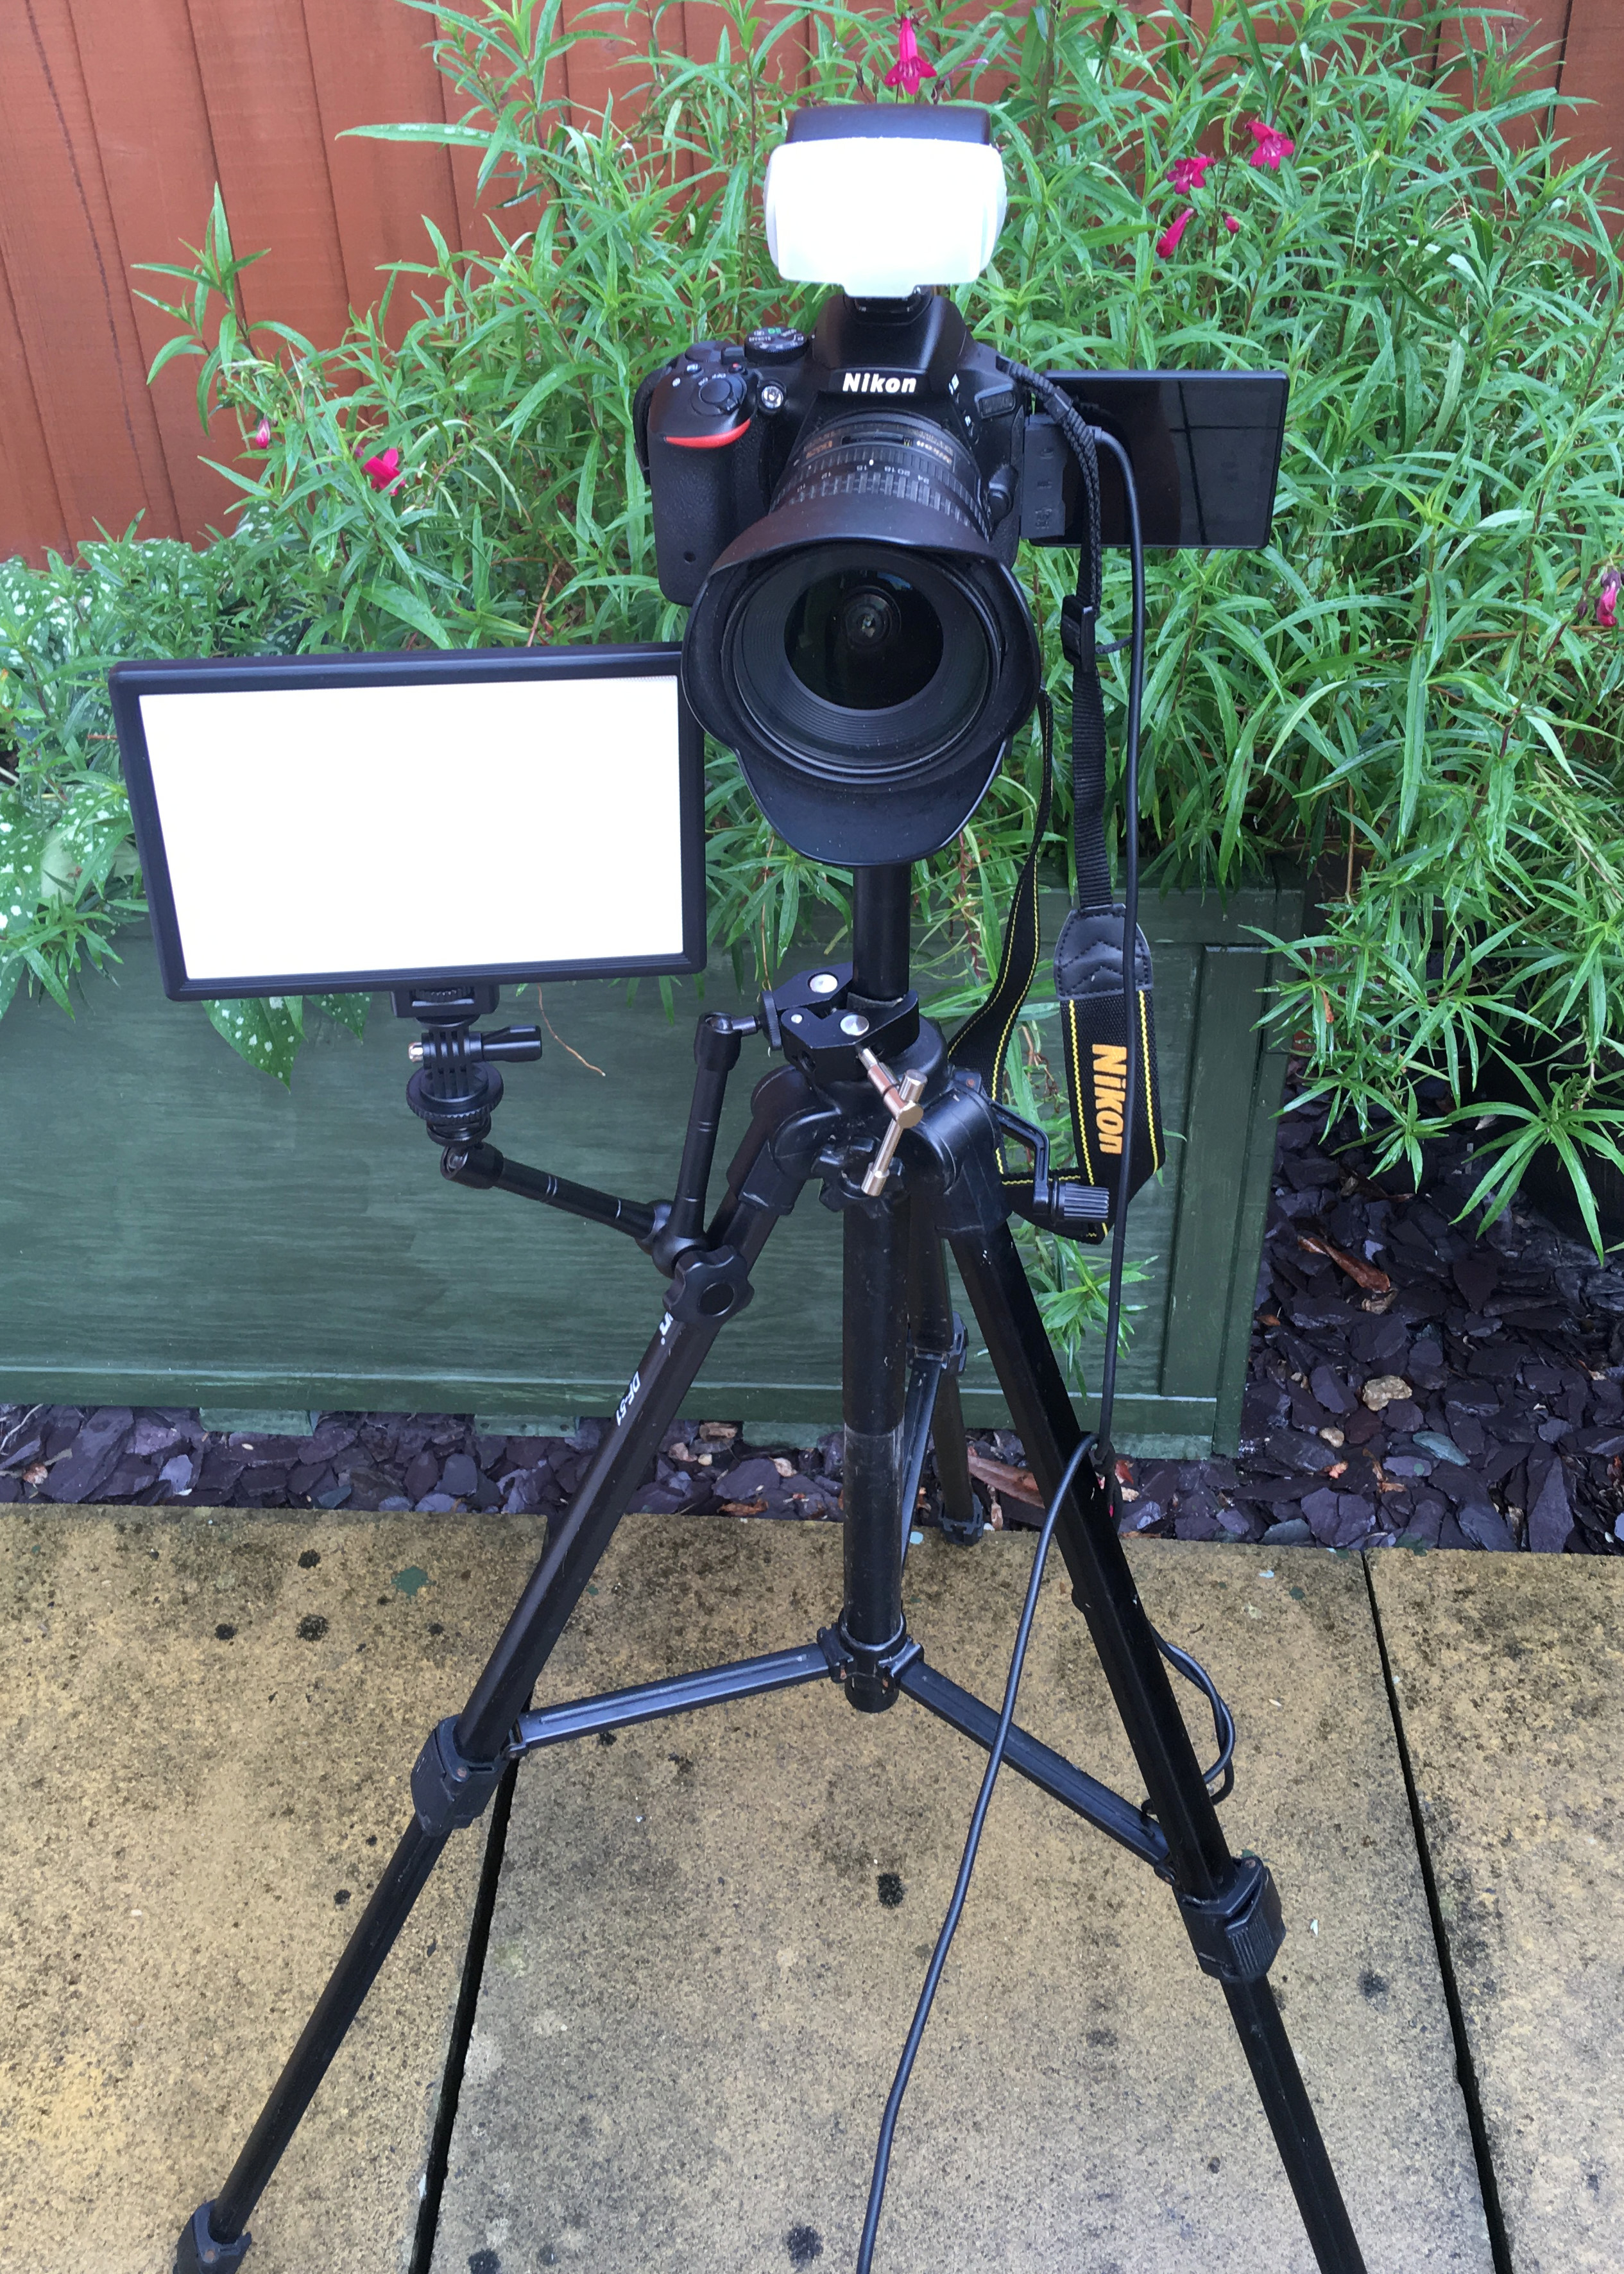
What I have been using lately is a light panel, which supplies constant light. It’s a bit less harsh than the torch technique, and you can pump out quite a bit of light with one of these panels. But the light is more evenly spread then a narrow torch beam. I use them on quite low settings usually 25% of max, just enough to light up the area for live-view screen on the camera to pick everything up, then use a standard flash on the hot shoe as well for the main lighting of the subject. The constant light from the panel also helps fill out the frame, so it gives quite a nice effect.

The only downside with this is that the constant white light in your face, does mess up your night time vision, but it’s only used once I have a photograph-worthy fish anyway, so it’s not that bad really in the grand scheme of things.
I fix the light panel to my tripod using a small clamp and some extending joints, this is standard practice now. On the boat, I have mounted the light panel on a Railblazer mount on the side of the boat, it’s just a little less fiddly this way. There is an advantage of using an aluminium boat when taking flash pictures, in that the light is bounced around and helps “fill” in any shadows at night.
I use the same settings on my camera as in the daylight with the exception of upping the ISO to 400, this isn’t too grainy with NIKONS. I still like using the P setting on the camera for the aperture (usually with this set-up it will be between f6 which is good, as on the lens I use f5.6 is the sharpest point) and the shutter speed will be 1/60.
It has taken quite a lot of trial and error to get the shots I want in total darkness, but now I am just as confident taking them now as in the daylight, but I always do a “test shot” first so I’m not messing around with the fish, some of these turn out to be quite hilarious. More so if I’m half asleep!
Obviously the simplest way to get a good photo of a fish you have caught in the dark is to sack it and wait until morning, this might be fine for some fish, but for Zander and Pike (not that you get many at night) it’s a no go, as I simply won’t risk the fish going belly up just for a photograph.